

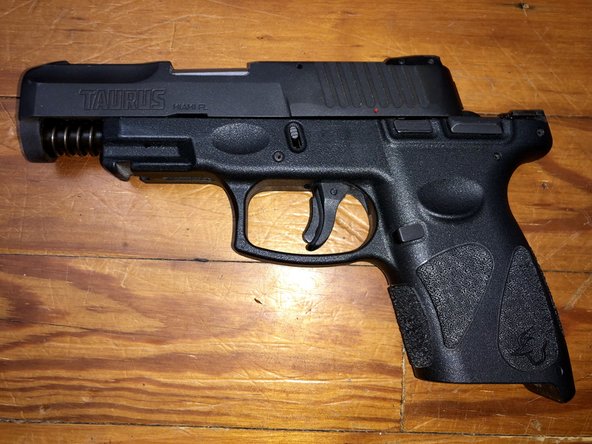
What You Need To Clean A Taurus G2c 9mm
-
-
-
After making certain the weapon is clear -no bullet in the sleeping room- , release the striker by pulling the trigger. This releases the tension on the striker and allows the slide to come forward.
-
Pull the slide dorsum only a hair to release the tension on the disassembly latches. Pull downward on the disassembly latches on both sides while property rearward pressure on the slide, then release the pressure on the slide.
-
-
-
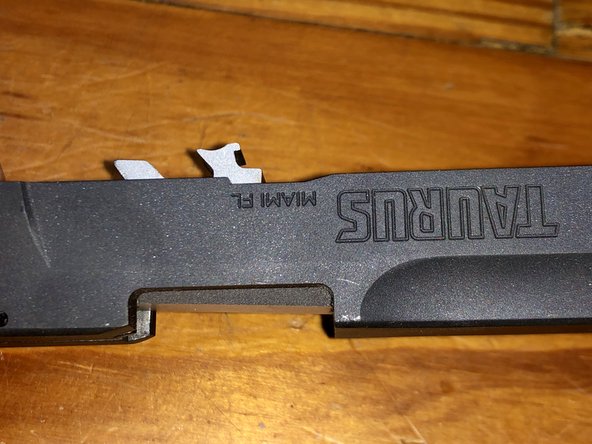
Go along moving the slide forwards until the rear of the slide passes the guides the notches above the disassembly latches(pointed out in the final moving picture).
-
-
-
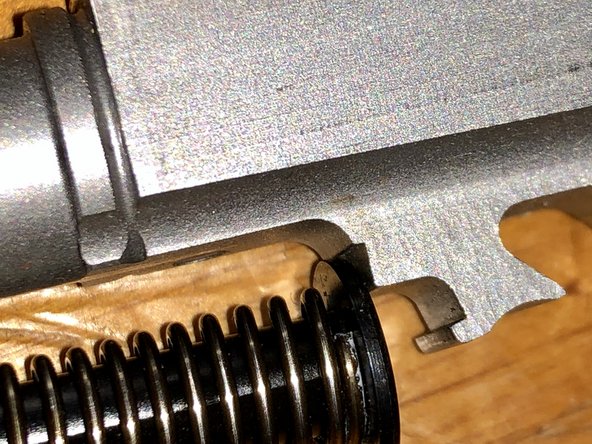
The recoil bound assembly is on the bottom of the barrel. It is held in identify by the spring's own tension against a notch in the barrel (2d flick) and its slot in the end of the slide.
-
While holding the slide with the muzzle pointing away from y'all, put your thumb or index finger on the rear-facing portion of the recoil bound assembly. Push button the assembly forrard to gratis it from the tension against the butt, and so release the tension and pull it out of its slot in the slide.
-
-
-
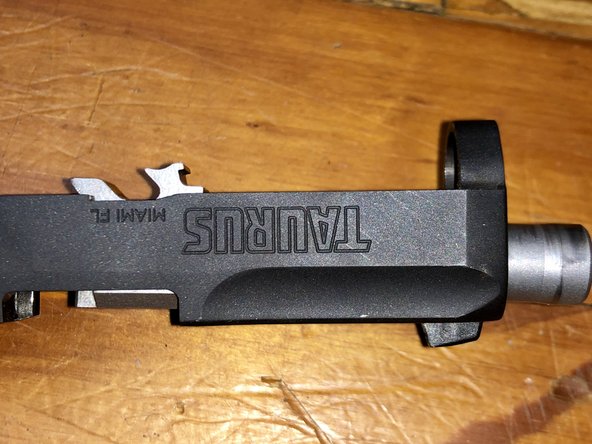
With the recoil spring assembly no longer property the barrel in, the barrel can now exist removed.
-
Move the barrel slightly towards the bottom of the slide
-
Push the barrel forrard a piffling bit to permit enough space to clear the ejector (not pictured)
-
-
-
Lift the barrel out of the slide.
-
-
-
Y'all're finished! You have now successfully field stripped a Taurus G2C.
-


Conclusion
To reassemble your weapon, follow these instructions in reverse guild.
Embed this guide
Choose a size and copy the code below to embed this guide as a small widget on your site / forum.
Preview

Source: https://www.ifixit.com/Guide/Taurus+G2C+Field+Strip+Disassembly/117405
Posted by: riveracomman1999.blogspot.com
0 Response to "What You Need To Clean A Taurus G2c 9mm"
Post a Comment